Family activity: how to make an autumn leaf lantern

Family activity: how to make an autumn leaf lantern

This craft is great for getting outdoors to explore, and also for days snuggled inside. Get out to collect lots of different coloured leaves, and you're ready to go!

As we watch the leaves change their colour and fall from the trees, we realise that autumn has arrived. The days are getting shorter and darker so why not make an autumn leaf lantern to light up your home and feel cosy in its glow!

There are so many wonderful things we can find outside this autumn. If you had a go at making our autumn nature table last month then I’m sure you already have lots of treasures! For this month’s craft we are looking for lots of different coloured autumn leaves.

This craft is great for getting outdoors to explore and for days snuggled inside. You might like to wrap up warm one evening and head outside in the dark with your leaf lanterns and watch them shine! Ask your little ones how it feel being out in the dark and how the glow of their lantern makes them feel.

Leaf lantern - you will need

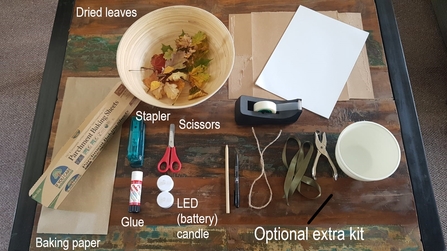
You will need:

  • A selection of different coloured and types of leaves (smaller ones work best)
  • Container to collect leaves in
  • Greaseproof paper or baking parchment
  • Scissors
  • Glue stick or PVA Glue
  • Glue spreader (if using PVA)
  • Stapler
  • LED (battery) candle (DO NOT use a naked flame)

Optional extras

  • Pen/pencil
  • Cup/circle shape to draw around
  • Card (coloured/white/recycled cereal box)
  • Sellotape
  • Hole punch
  • String/ribbon
Collect and dry your leaves

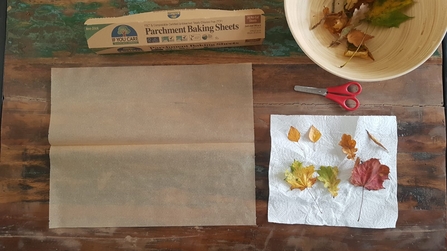
Step 1: head outside with a container and ask your little ones to explore and collect different coloured and shaped leaves. If you head out on a rainy day to collect them or they are a bit damp you will need to allow them time to dry (this can be fun for them to help with by laying between sheets of newspaper or paper towel to dry out for a few days).

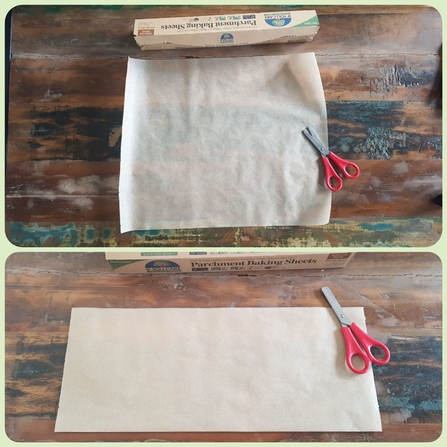
Cut out baking parchment

Step 2: help them cut a long rectangular piece of greaseproof paper or baking parchment (approx. 13x16 inches). Fold in half to double up and make it stronger.

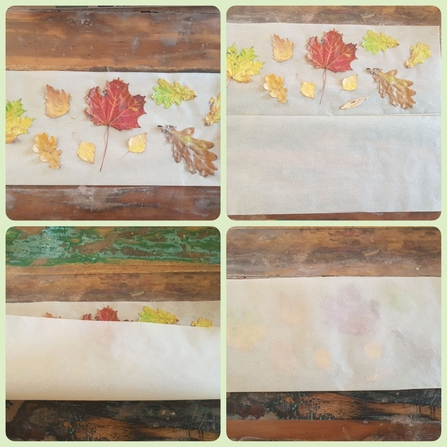
Stick down leaves

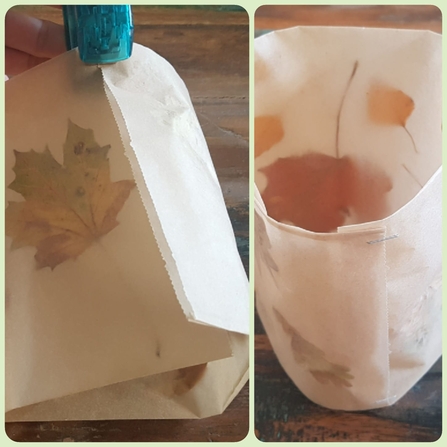
Step 3: use PVA glue or a glue stick to stick the leaves (smaller leaves work best) onto one side of the greaseproof paper. Then fold over the other half to cover leaves and stick down. Leave to dry.

Fold up the lantern

Step 4: once the leaves are dry and stuck staple your greaseproof paper together where the two ends meet or just overlap.

Finished leaf lantern

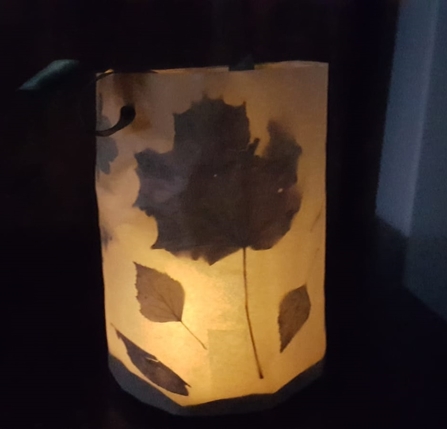
Step 5: place on a shelf with an LED candle inside to create a cosy, calm space to relax!

Optional extras

Older children may like to make a hanging lantern!

Make a cardboard base
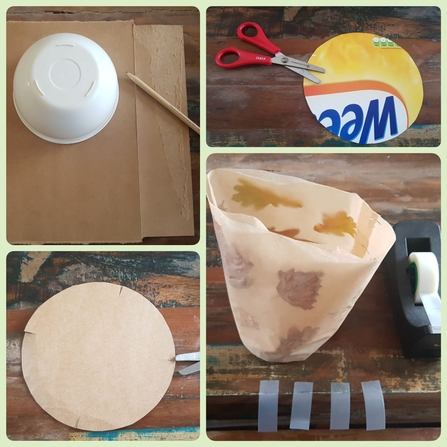
  • Draw a circle on a piece of card using a cup or template (check it’s big enough for base of lantern you have already made).
  • Cut the circle out and make 1cm cuts to make a lip on circle. Then attach to one end of lantern using small pieces of sellotape.
Make a hanging string
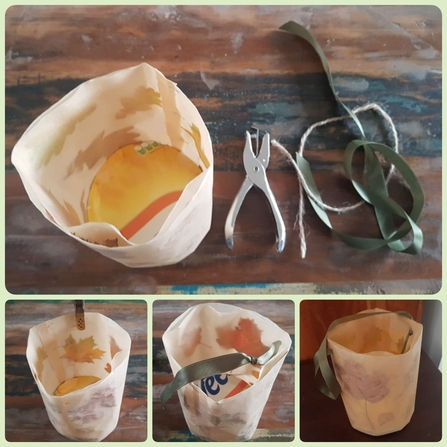
  • Make two holes on the top end of lantern, on opposite sides, and then thread and tie a piece of string or ribbon through holes to make a handle.
  • Place LED candle inside and hang up to create a warm glow.

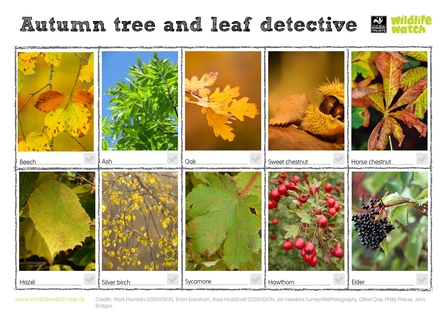
You can use our leaf spotter sheet to help identify the leaves you've collected!

Autumn tree and leaf spotting sheet

Autumn tree and leaf spotting sheet

We'd love to see a picture of your leaf lantern!

Share it with us on Facebook

Get more family activities with our monthly wildlife email.

Sign up today