A beginner’s guide to sheep shearing

A beginner’s guide to sheep shearing

Beulah speckled face and Hebridean sheep at Chimney Meadows by Denis Kennedy

Every year our Hebridean and Beulah speckled face sheep need a shear, but this age-old craft isn't quite as straightforward as it might look, as Glenn explains!

This spring saw my first introduction to the wild and woolly world of sheep shearing. For anyone else out there who's not experienced this spectacle, I thought I’d provide a brief guide. It’s a simple enough process:

Step 1: Get the sheep in the pen

Ah, no, not that part of the pen, the other part of the pen, the bit with the race, no, no, the other bit with the other race, in order to make room for the other flock of sheep to come into that other part of the pen.

Then they all go through the gate and into the holding pen before going back around the outside of the pen so that the first flock of sheep end up in the pen where the second flock were and vice versa. Got it?

Step 2: Encourage the sheep towards the shears

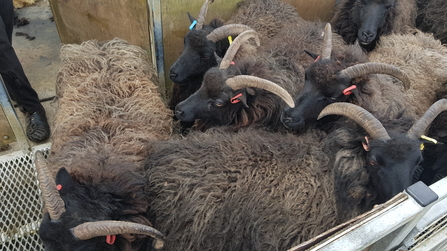
Gently coax, cajole, coerce and eventually enthusiastically shove a hopelessly high number of sheep (by this point almost always unhelpfully stuck in reverse) into an ever decreasing space. Stop once a solid block of sheep has been attained.

Hebridean sheep

Hebridean sheep waiting to be sheared. Photo by Paul Jeffrey

Step 3: Select your sheep

Employ the stealthy skills of a sleep-deprived Scotsman who lives in Wales and works mostly in Norway to creep up on the sheep one at a time and take them by surprise to shearing station.

Step 4: Shear

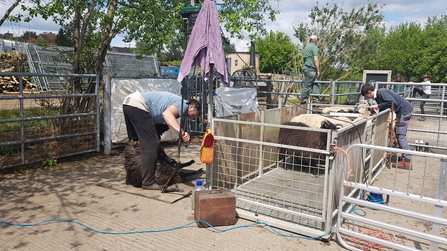
Watch on with a level of bemusement, only matched by that of the sheep itself, as it loses its hard grown woolly winter coat in the most undignified fashion. Simultaneously marvel at the speed, skill, efficiency and work ethic of the aforementioned shearer.

Sheep being sheared

Sheep shearing. Photo by Paul Jeffrey

Step 5: Stop, drop and roll

Release relieved sheep and stare agog at how small it looks. Turn and admire the size of its fleece, neatly rolled and bagged up, ready to be sent to the archaic sounding British Wool Marketing Board.

Repeat steps 1 to 5 until there are no more sheep left in the first pen. You remember which one that is of course?

Step 6: Freedom!

Let significantly shrunk, sheepish looking sheep back into the field. Ah, no, not that field, the first flock need to go into the third field that the second flock were in this morning so that the second flock can go into the second field that the first flock were in. Okay?

Step 7: And relax

Allow the sheep time and space to get to process what has just happened to them and to get to grips with their new sylph-like selves. Consider providing woolly blankets if they look cold.

And that’s all there is to it. As ever, the process would never have gone so smoothly had it not been for a whole host of trusty volunteers setting up, rounding up and moving those sheep on up.

Special thanks to Martin (Oxon Field Team) and Livvy (recently appointed Bucks Reserves trainee) on sheep welfare, wool rolling and packing, and Phil (Oxon Field Team) and Paul (Wells Farm Warden) on sheep shoving and (often) surfing. Well done team!