Spring is springing! Follow the steps to make recycled toilet roll tube pots and start some seeds on your windowsill. By the time the warm weather arrives they’ll be ready to plant out into your garden. In this example we’ve planted sunflowers which are fun and easy to grow, but you could choose all sorts of flowers and vegetables.
Family activity: how to plant seeds in recycled containers

How to get started planting seeds at home, and some top tips on which kinds of flowers and veggies to try!

Look for seed packets with the bee logo on them, showing that they are good for pollinators. These will help the wildlife in your garden as well as looking lovely.

You will need:
- Toilet roll inner tubes
- Compost (peat free please! Read about why here)
- Seeds (see suggestions below)
- Scissors
- Permanent pen
- Lollypop sticks (optional)
Suggestions of seeds to grow at home
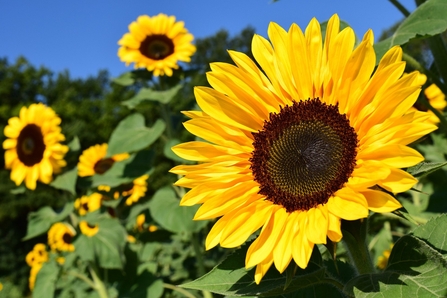
- Sunflowers – the sun will always shine in your garden!
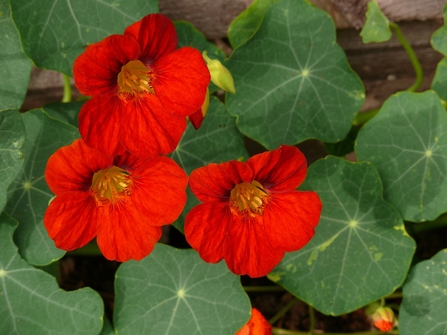
- Nasturtiums – you can eat the leaves and the flowers and pickle the seeds
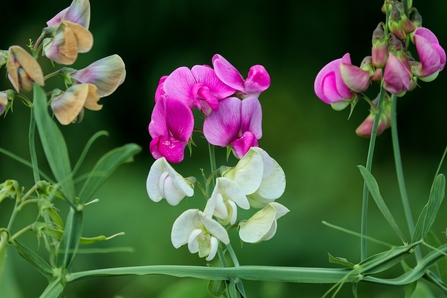
- Sweet peas – DON’T EAT these, the seeds that come after the flowers are poisonous, but the flowers smell wonderful
- Cosmos – a pink and white treat for the bees
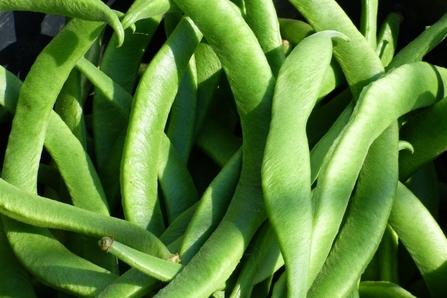
- Runner beans – grow these up tall sticks or garden canes
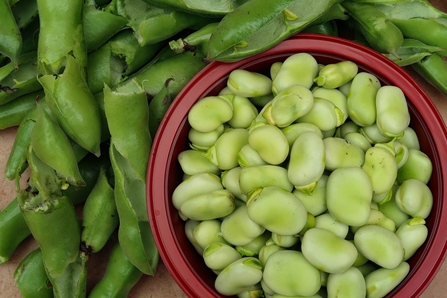
- Broad beans – big beans in soft furry pods
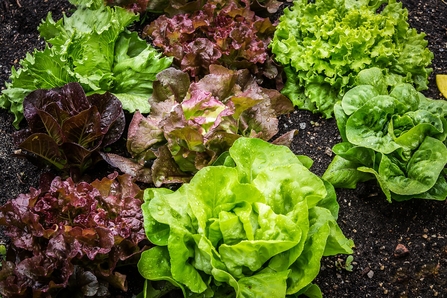
- Lettuce – you don’t have to plant these out if you don’t want to, harvest them when they’re young and sweet from your windowsill
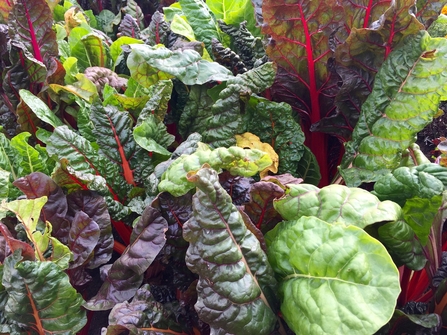
- Rainbow chard – you can pick leaves from these colourful vegetables all through the winter

Step 1
Take your toilet roll tube and make 4 or 5 straight cuts in from one end to form flaps. The cuts should be about 2cm long.

Step 2
Carefully fold the flaps in towards the middle of the tube. Overlap the flaps so they fill up the end of the tube forming the base of your homemade pot.

When it's all folded, write the name of the plant your seed will grow into on the side of the tube OR on a lollypop stick.

Step 3
Fill your tube with compost to nearly the top. If there are any lumps in the compost break them apart with your fingers so the seed will have a nice soft bed.

Step 4
Use your finger to gently poke a little hole in the compost. Drop in one seed.

Step 5
Top up your tube so the seed is covered by about 1cm of compost – you shouldn’t see it poking out! If you’re using the lollypop stick label gently poke it down the side of the pot, well away from where your seed will be growing.

Step 6
Place your tubes in a sunny windowsill. Put them in a tray to catch any drips, and water them regularly so the compost stays damp but not soggy. Watch for your plants to start growing!

Step 7
As your plants grow they will need more space. When they start looking a bit cramped plant them out into larger pots of compost or into the garden. Sunflowers will need a stick pushed into the ground beside them which you can gently tie them to as they grow so that the wind doesn’t knock them over.
Seed planting follow up activity: Sunflower race
Whose sunflower is growing fastest? Label your pots either with the name of the person who planted it (if you’re doing this make sure everyone plants a few seeds in case some don’t grow or have an accident!), or you could number them or give each plant a name of its own. “Sunny”, “Sir Leafalot”, “Flower”! Measure the plants every day once they start to grow and draw a table to write down the measurements. You could even practice making a spreadsheet or drawing graphs with your results!
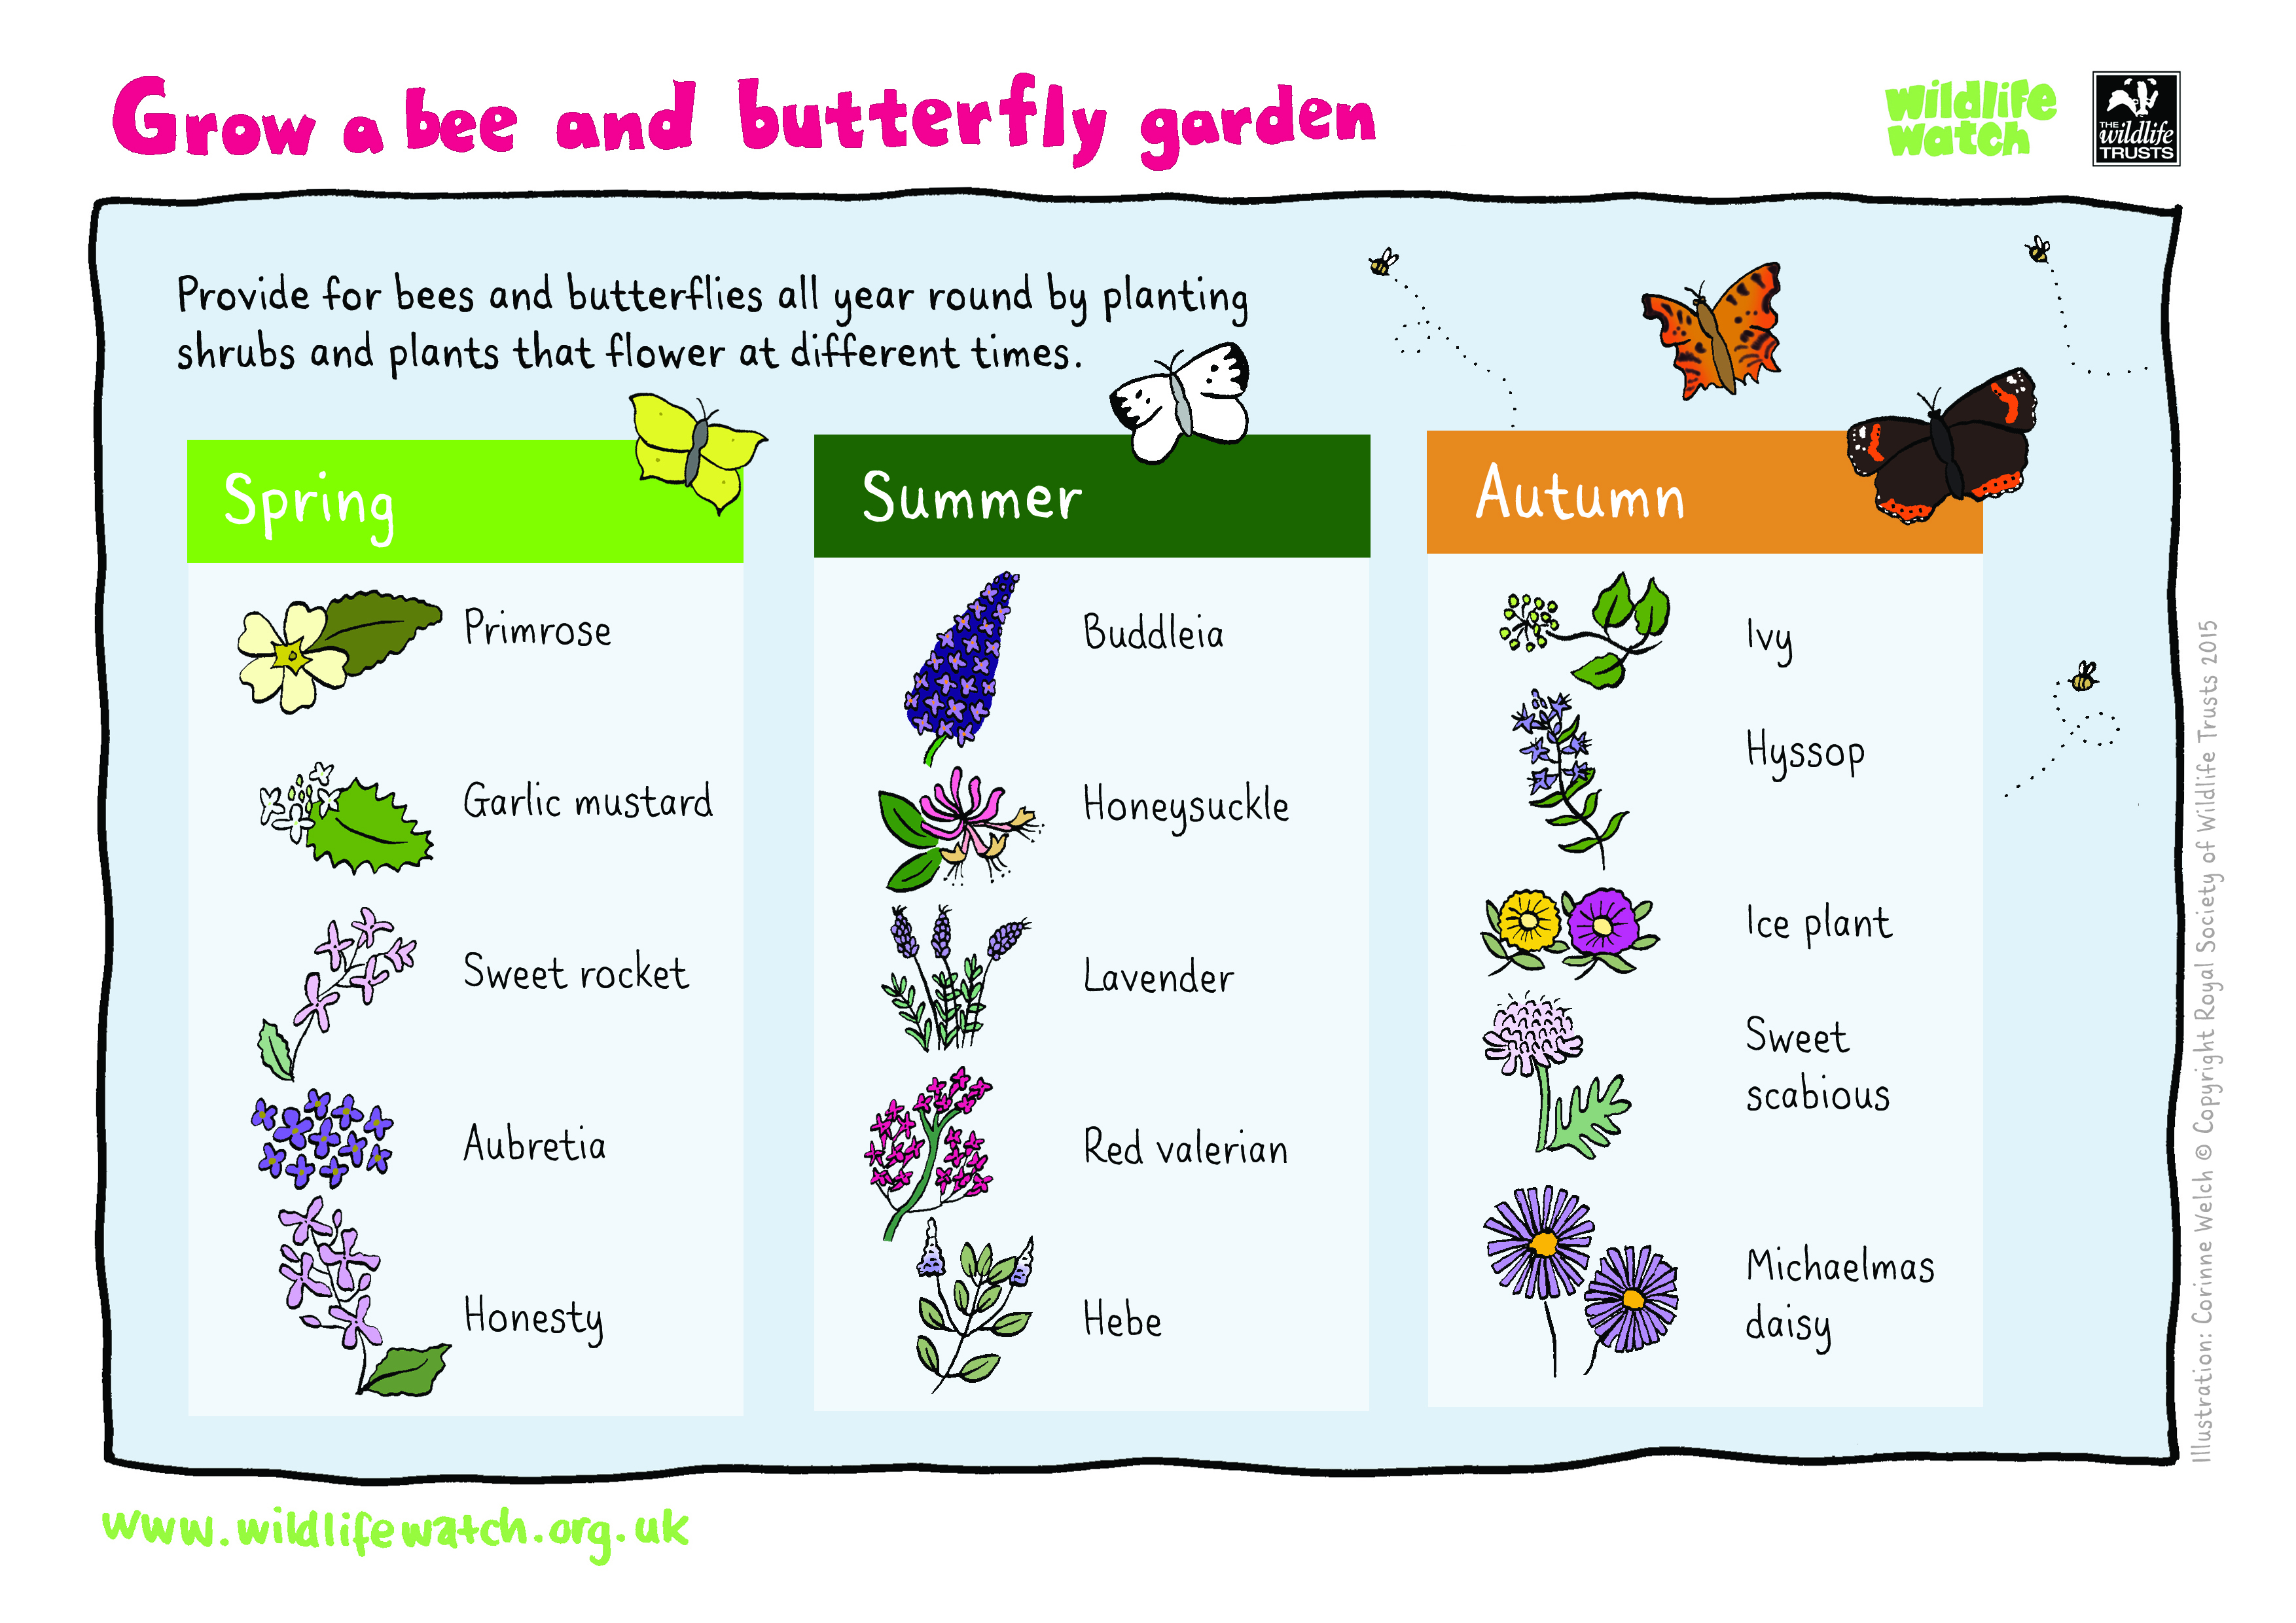
Here are some suggestions for which plants to grow to help bees and butterflies in different seasons: